
Liquidity Gravity Zones (LGZ Theory): The Hidden Force Behind Market Moves
Every chart tells a story, but only a few traders know how to read its hidden script. Behind every breakout, fakeout, massive wick, sudden reversal, or long trend, there is one silent force:
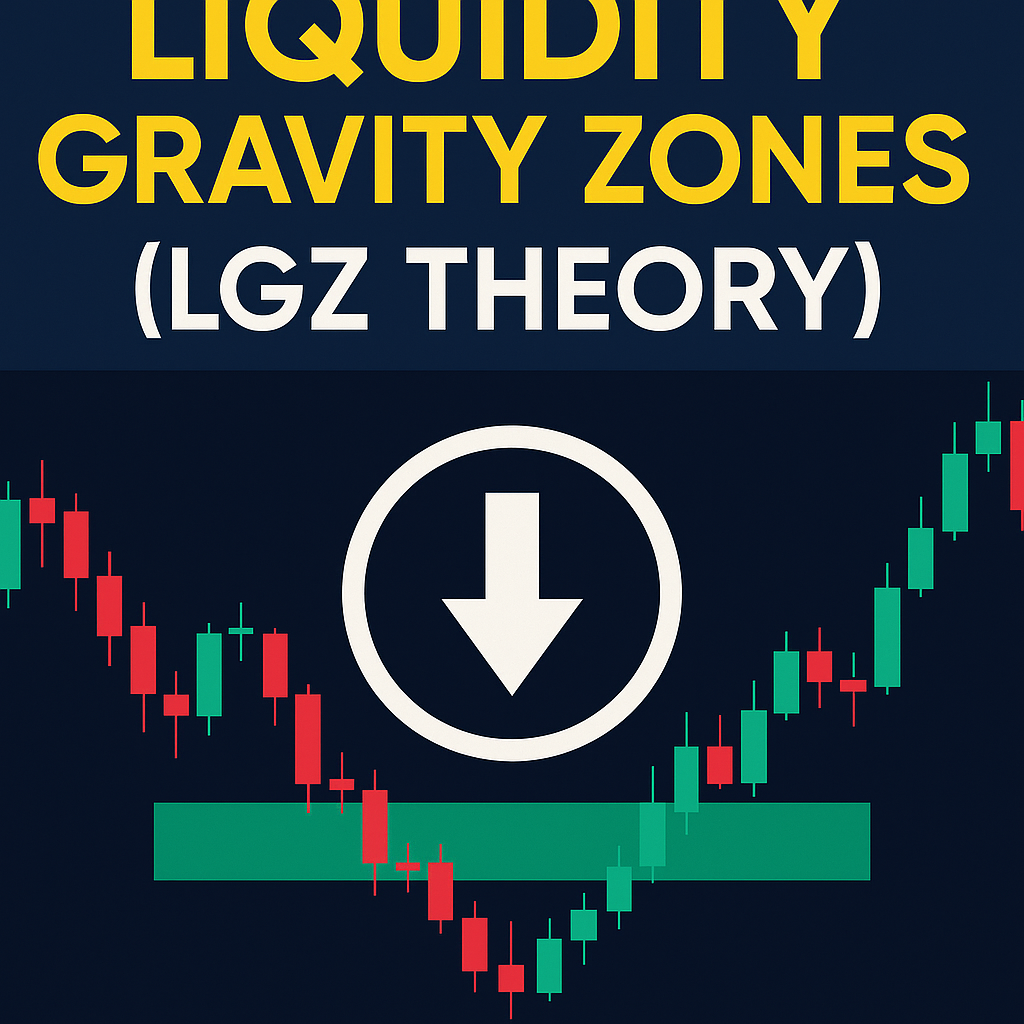
Liquidity Gravity Zones (LGZ Theory)
LGZ theory explains why price moves, where it will likely move next, and what attracts smart money. Think of liquidity as mass, and price as a magnetized object pulled toward it. When liquidity accumulates in one area, it creates a gravity zone that price cannot ignore.
This concept has become a favourite among institutional-style traders, SMC traders, algo traders, and quants.
What Are Liquidity Gravity Zones (LGZ)?
Liquidity Gravity Zones (LGZ) are price areas where a significant amount of pending orders (stop-losses, stop entries, and trapped orders) accumulate. These zones behave like gravitational fields, pulling price toward them.
Here’s how:
- Traders place stop-loss orders above swing highs → liquidity forms.
- Traders place panic stops below swing lows → liquidity forms.
- Institutions identify this and move price toward it → liquidity grab.
🔗 Learn more about liquidity mechanics from Smart Money Concepts here: Liquidity in Trading.
Why Does Price Get Pulled Toward LGZ? (The Gravity Mechanism)
Price is not random.
Institutions require opposite orders to fill their large positions. LGZ gives them:
- Stop-loss clusters to fill big opposite orders
- Breakout traders’ entries to absorb liquidity
- Imbalanced zones to rebalance spreads
- Low-risk areas to engineer reversals
When liquidity becomes too dense, the gravitational pull becomes irresistible.
Example:
If liquidity builds above a swing high, smart money will push price up, trigger stops, grab liquidity, then reverse sharply.
Types of Liquidity Gravity Zones
1. Swing High/Low LGZ
The most common zones.
- Stop-loss of retail traders accumulate
- Algo systems place orders
- Breaker blocks form
These zones suck price toward them because they represent liquidity pools.
2. Order Block LGZ
Order blocks naturally attract liquidity:
- Bullish OB → gravitate price back after imbalance
- Bearish OB → attract price in mean reversion
3. Imbalance (Fair Value Gap) LGZ
Imbalances are incomplete auctions.
Smart money revisits these zones to:
- Fill missing orders
- Normalize spread
- Establish new positions
4. Volume Nodes (POC, HVN, LVN) LGZ
Areas of high volume behave like “magnetic price zones.”
For example, TradingView’s Volume Profile POC acts like a gravity point.
5. Liquidity Void LGZ
When price runs quickly leaving no liquidity behind, it must return to:
- Refill orders
- Create balance
- Engineer continuation patterns
These voids behave like strong magnets.
How to Identify Liquidity Gravity Zones (LGZ) in Real Charts
Step 1 – Identify liquidity clusters
Look for:
- Equal highs and lows
- Trendline liquidity
- Asian session highs/lows
- Consolidation stop clusters
Step 2 – Map breakout trader zones
These are points where breakout traders enter in the wrong direction.
Step 3 – Mark FVG, imbalance, and OB
Use standard SMC tools.
Step 4 – Check Volume POC
POC (Point of Control) often acts as a LGZ.
🔗 Learn volume profile basics here: Volume Profile Guide
Step 5 – Combine multi-timeframe structure
LGZ from higher timeframes = stronger gravitational pull.
The LGZ Formula (Institutional Logic)
LGZ = Liquidity Cluster + Imbalance + Order Block + Volume Node
If at least two conditions overlap, you have a high-probability Liquidity Gravity Zone.
How Institutions Use LGZ to Manipulate Price
Institutions do not chase price—they engineer price movement.
Here’s how:
- Identify where most traders have placed their stops
- Move price to that zone
- Absorb all liquidity
- Reverse or continue based on intention
- Leave retail traders confused
This creates the famous:
- Stop hunts
- Sweep → BOS (Break of Structure)
- Fake breakouts
- Smart money traps
LGZ theory explains all of these phenomena.
Trading Strategy Using Liquidity Gravity Zones (LGZ)
Buy Setup Using LGZ
- Liquidity lies below a swing low
- Price sweeps that low
- FVG + bullish order block forms
- Volume confirms absorption
- Entry on retracement
Sell Setup Using LGZ
- Liquidity lies above swing high
- Price sweeps the high
- FVG + bearish order block
- Volume spike + rejection wick
- Sell on retrace
LGZ Checklist For High Accuracy Trading
| Criteria | Must-Have |
|---|---|
| Liquidity cluster | Yes |
| Order block | Optional |
| FVG imbalance | Ideal |
| Volume POC | Strong confirmation |
| Manipulation candle | Big clue |
If 3 out of 5 appear → strong LGZ
If 5 out of 5 appear → institutional-grade LGZ
Advanced LGZ Concepts
1. Magnet Reversal Zone (MRZ)
The exact point where price flips after liquidity grab.
2. Liquidity Directional Bias
Price seeks the nearest, largest liquidity pool.
3. Gravity Exhaustion
After major sweeps, gravity weakens → trend shifts.
Why LGZ Theory Works Better Than Indicators
Indicators lag.
LGZ does not lag because:
- It is based on order flow reality
- It tracks liquidity clusters
- It predicts where price must go
This makes LGZ a predictive system, not reactive.
Conclusion
Liquidity Gravity Zones (LGZ Theory) gives traders powerful insight into why price moves and where it’s heading next.
It helps you anticipate:
- Sweeps
- Manipulation
- Institutional moves
- Trend reversals
- Breakouts and fakeouts
LGZ is not just a strategy.
It’s a complete market-movement logic framework, revealing the hidden gravitational pull behind every candle.